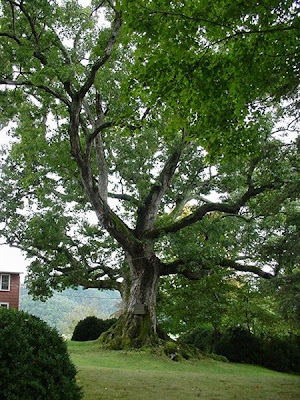
I found an excellent tutorial for this week. Now I am going to share it for you. First, look at my original image. This effect is very good to apply in a picture of a big tree (there are suitable images on Google by searching "oak" to practice if you like). The tutorial is quiet long and hard so I present it shortly and skip some simple steps.
Now, go to Channel palette and duplicate the 'Blue layer'. Next, darken the 'Blue copy' channel layer like this:
Ok, now, hold down the Ctr (Win)/Command (Mac) and right click on the 'Blue copy' channel layer. Ok ok, ignore what you see and turn back to the Layer palette. You will see...nothing changed, haha...
Now, add a new layer and press 'D'. Press Ctr+Backspace (Win)/Command+Delete (Mac) to fill the selection with white. Again, you will see...nothing happened. Interesting!!!
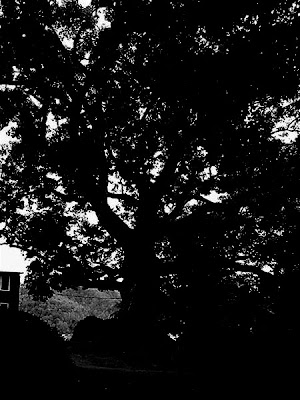
Duplicate the new layer you have created. Go to Filter menu -> Blur -> Radial Blur -> click 'zoom', 'best' and adjust the Blur center and Blur amount as you like. Now you have the main part of the effect. To make it better, use Outer Glow and the blend mode is Soft Light. Now we have:
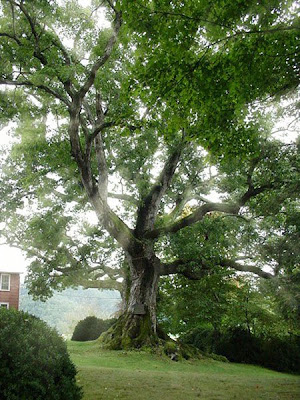
Is it great? I will make it more real by create the reflection effect on the ground. The "nothing" preparation above will be used now. Back to layer 1, press Ctrl/Command T and resize it. Make it smaller vertically and drag it down until the reflection appears on the ground. Finally, change the blend mode of it to Overlay. We got it!

Image source: http://www.ovta.org/2007%20March%20Page%20Pict/3%20Pemberton%20Oak/Pemberton%20Oak%202001%20MVC-129S.JPG
No comments:
Post a Comment